Suction, and the tub floors it will not hold
A suction mat that lets go is almost never a faulty mat. It is a mat on a surface that cannot be sealed against, and you can tell which kind of tub you own with the palm of your hand.
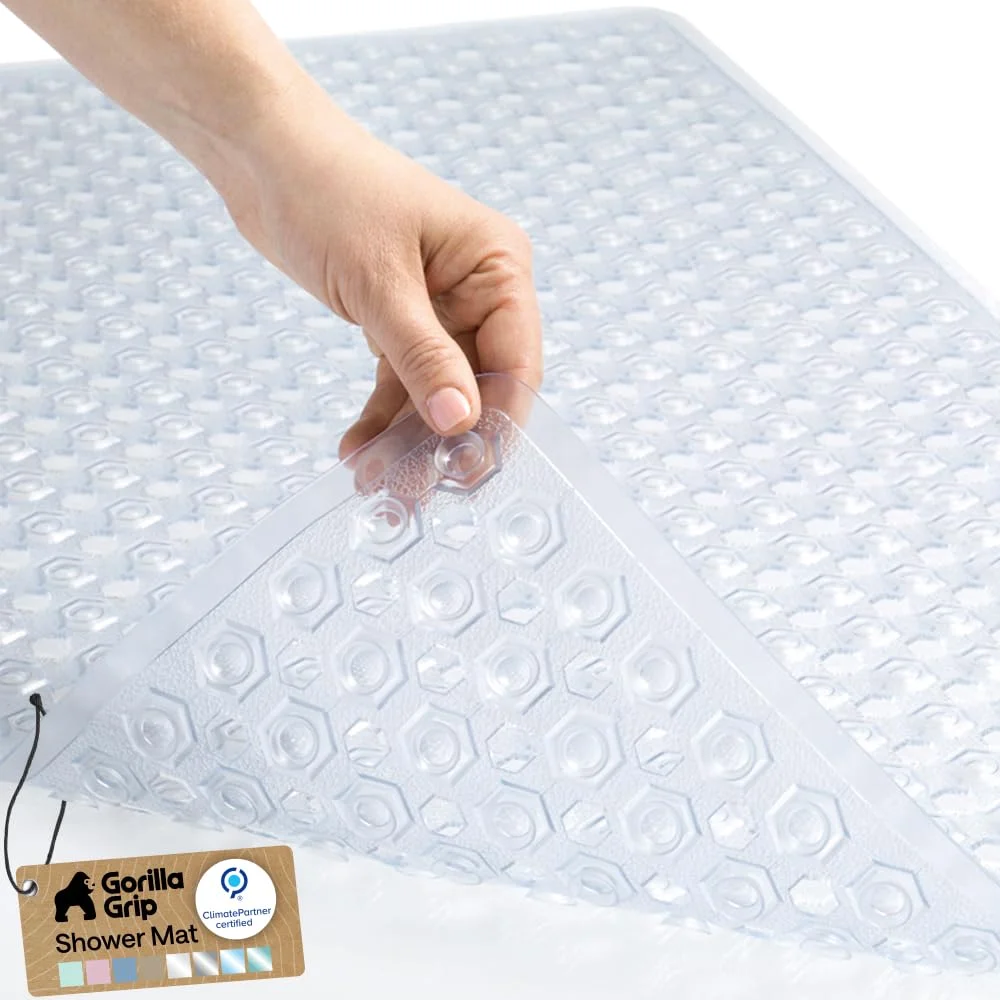
You hear it first, and a soft sigh underfoot as the cups let go is followed by the mat walking away from where you pressed it and riding the water toward the drain. You step differently the rest of the shower, one eye on a corner that will not stay put. The problem feels like the mat, but it is usually the floor.
What a cup is actually holding on to
A suction cup grips because pushing it flat forces the air out from under it, and when you let go the room’s ordinary air pressure presses on the outside of the cup against a lower pressure underneath. That pressure difference holds the cup down, and every cup needs a complete seal along its rim to keep outside air from creeping back underneath. Give air any path back in and the pressure equalizes, so the cup lifts.
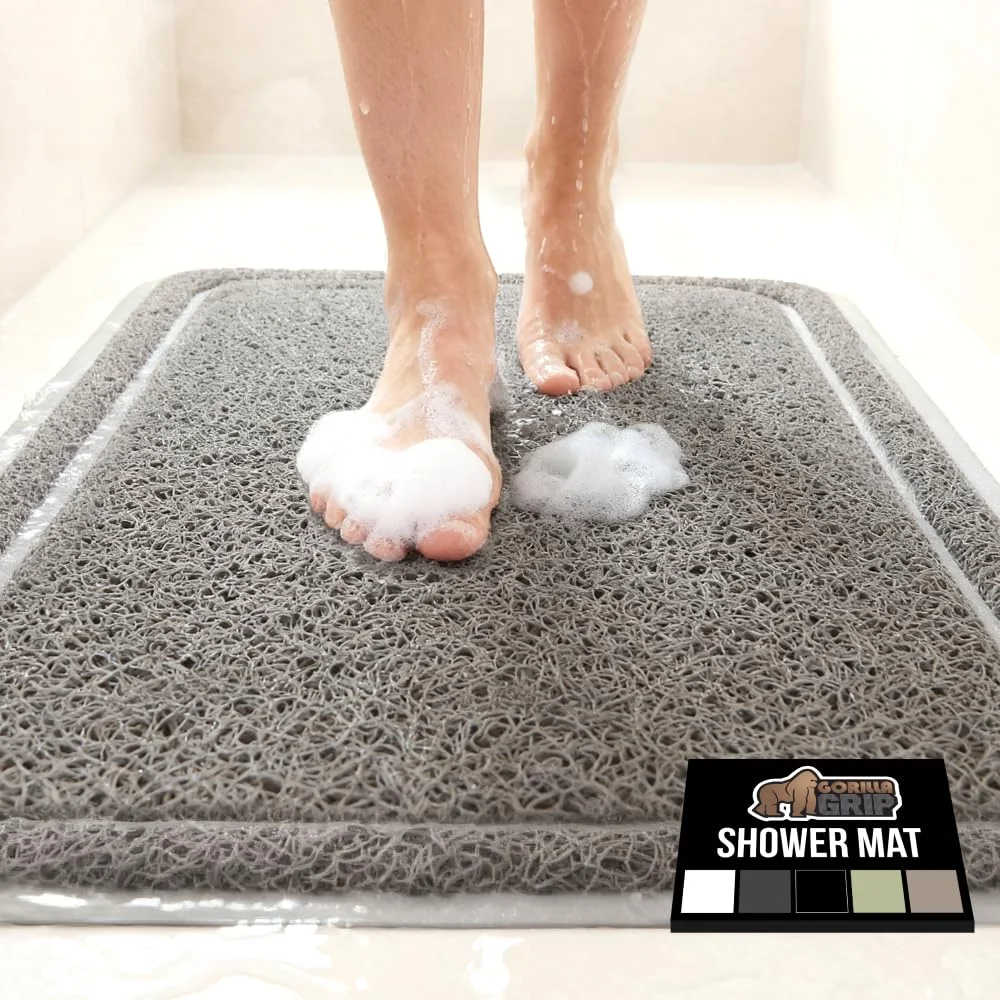
Water helps the seal, because a wet rim behaves like a gasket and fills tiny scratches, so a mat is pressed down on a wetted tub floor. Temperature matters too, since cold materials shrink and warm ones expand, so a mat pressed to a cold surface can loosen when hot water hits it and everything shifts slightly. That is not mysterious. It is physics, plus the surface you are asking the cups to seal against.
First proof: the palm test
Run a dry palm over the tub floor, and you do not need to look, just feel. If your palm glides like it is on glass, and you cannot feel a pattern, you are on a good track for suction. If it feels like very fine sandpaper, or you can feel a dimples-and-ridges pattern, or your hand falls into little joints every few inches, cups have nothing to seal against. Ten seconds tells you more than ten minutes of pressing ever will.
If your palm feels fine sandpaper, suction cups have nothing to seal against.
Surfaces that seal and surfaces that do not
Suction needs a smooth, non-porous, continuous face, and gloss enamel, acrylic, most gloss fiberglass, and glazed ceramic tile with wide flat faces tend to seal well when clean and wet. Surfaces that fail a seal share two traits: they have texture that holds the rim off the floor, or they break the floor into pieces, like small tiles divided by grout, so a rim sits on high points and leaks at the low ones. There are four common cases where a tub floor will not seal for cups at all, and you can check each with your palm and with your eyes.
The four surfaces suction fails on
A texture is the point, and it gives shoes and skin some traction by raising thousands of small hills and valleys. To a suction cup that texture is a fence of tiny gaps, and the rim spans the hilltops but never closes off the valleys. Air walks in along those valleys and the cup lifts. If your hand feels a repeating pattern, the cups will not bite.
- A molded non-slip texture pressed into the tub floor
Many tub refinishers spray on an orange-peel coating that looks clean but feels pebbled, and those peaks and pits act like permanent ridges under a cup. Your palm will feel a uniform, slightly gritty drag. The surface can be watertight and still not be sealable for a rim, because cups need continuous contact, not just water resistance.
- A floor that has been refinished or resurfaced with a textured coating
Old enamel and acrylic age, and years of cleaners and shoes flatten the shine into a low-luster, micro-abraded skin. Under your hand it feels like a sheet of very fine sandpaper, and those micro-scratches break up the contact line. Water helps a little and a new mat can grab for a while, then it lets go as heat and load work at the tiny gaps. If a surface once held cups and now does not, this is a common reason.
- Worn matte surfaces where the gloss has gone
Small mosaics and penny tiles make a beautiful floor, but they turn a suction rim into a bridge, with high tiles under the rim and low grout lines breaking the seal. When you pass your palm over the area, your hand will catch on the joints every few inches. A cup that straddles one joint leaks, and a mat that spans dozens of joints leaks everywhere.
- Small tile with grout lines running under the cup
Quick reference by surface
| Tub surface | Will suction hold | How to tell | What to use instead |
|---|---|---|---|
| Gloss enamel tub floor | Yes, when clean and wet | Palm glides like glass, no pattern | Standard suction-cup tub mat |
| Acrylic or gloss fiberglass | Often yes if glossy | Palm slides, slight flex under hand | Standard suction-cup tub mat |
| Large glazed ceramic tile with wide, flat faces | Usually yes on tile faces, avoid grout | Palm skates on tile, stops at grout | Place cups on tile faces only, or use a texture-and-weight mat if grout is dense |
| Molded non-slip texture | No | Palm feels raised bumps or a repeating pattern | Texture-and-weight bath mat, or a bath rug outside plus a grab bar inside |
| Refinished or resurfaced with textured coating | No | Palm feels orange-peel or fine grit across the floor | Texture-and-weight bath mat, or a bath rug outside plus a grab bar inside |
| Small tile with grout lines under the cup | No | Palm catches on joints every few inches | Texture-and-weight bath mat, or a bath rug outside plus a grab bar inside |
Fitting the mat you already have
Size matters for coverage and for where the cups sit, and for a standard tub floor, 35x16 inches covers the places your feet actually land, while for a square shower stall, 21x21 inches keeps the mat inside the curb on all sides. On large glazed tile, aim cups at the tile faces, and if grout lines are frequent, think about a different style. On tubs with a center drain and a deep slope toward it, press the middle first so the cups do not bridge over a belly of air.
The tub floor and the shower stall take different sizes, and both are printed on the cards in the Gorilla Grip lineup: 35 by 16 inches for a tub, 21 by 21 for a square stall.
Water is your friend at this stage, and a damp rim makes a better seal than a dry one. If you pressed the mat on while everything was cold, and you notice cups lifting as hot water runs, press it down again while the tub is warm, because that slight expansion can fill micro-gaps and improve the seal.
Living with it
Pressing technique matters each time, so do not stomp out air from the edges toward the middle because that traps pockets. Start in the middle and move outward, and give the air an exit at the rim. Press a palm across the face and listen, since little pops that move outward are the sound of air leaving. If you hear pops that return in place, your floor is likely textured under that area or your surface is worn matte.
If you notice a cup that always lets go first, check the floor under that spot, because a tiny chip, a bump of old caulk, or a grout line can make a local leak. If it is a surface issue you cannot change, reposition the mat a few inches so the cups sit on continuous face, and if your tub floor is one of the non-sealing cases, stop expecting a suction mat to behave. Use a different approach.
When your tub floor will not seal
You have three practical choices when the cups cannot make an airtight rim.
Mix and match as your space demands, and a textured-weight mat inside and a rug outside is a common pairing on floors that will not seal. If someone in your home needs more help to move safely, a bar inside and a bar just outside the curtain line gives two solid handles. The bar does not replace a mat, and the mat does not replace the bar, because they solve different parts of the same problem.
The bigger picture: grip and guidance together
You can respect those numbers without turning your bathroom into a lab, and you can start with the surfaces your feet and hands meet. Use a mat inside that suits the floor you have, and use a rug outside to meet wet feet. Put grab bars where a hand naturally reaches as you turn or step, because that combination answers what the data describes. Movement in water, movement with wet skin, and movement across a threshold.
Testing still exists, and Traction has published test methods behind it. The National Floor Safety Institute’s B101 family covers wet static friction, wet dynamic friction, and the wet barefoot condition, which is the one that matters in a bathroom. These are test methods for laboratories and auditors, not certificates a product carries, and in your home the work is simpler. Match the mat to the surface and press it on the right way. Lift it and dry it, and use bars where hands need help.
Choosing size and placement
Size is straight from your space, and for a tub floor, 35x16 inches covers the standing area from the back slope to the drain end without bunching, while for a square shower stall, 21x21 inches fits inside the curb so edges do not climb walls or ride up over drains. Place the mat so your feet land on it where you first stand and where you turn, and do not cover the drain fully unless the mat is designed for that and the cups around the opening have a place to seal. A mat that disturbs the drain cover can tilt and lift.
On glossy tile with wide faces, map your cups, and set the mat so the outer rows rest on tile faces, not over grout lines. On small tile, accept that cups will cross joints and lose their seal, so choose a texture-and-weight mat instead. On acrylic and gloss fiberglass, clean is the decider, because a little soap film can behave like talc and let a cup creep. Wipe, rinse, and press.
Cleaning that helps the seal
You do not need a complicated process, so wipe the tub floor where the mat sits and rinse the mat top and bottom, then let both dry with air around them. The film you are removing is what feeds mold, and it is also what sits like tiny ball bearings at the rim of a cup. Take it away and you give the rim a better shot at continuous contact. If your water is very hard and leaves mineral behind, that can make a faint grit under your palm over time, so wipe that away and your cups work as designed.
If you share a bathroom with people who prefer a different mat style, switching back and forth is fine, and you can lift one, dry the floor, then place the other. The only mistake is stacking mats so one rides on top of the other, because a cup cannot seal to a soft textile or a perforated rubber. It needs the floor itself.
Troubleshooting
- The mat lifts at one end every time, so check for a slope or a high spot at that end. Press the center first and walk pressure toward the problem edge so air has somewhere to go. If the edge sits over texture or a joint, move the mat a few inches.
- The mat holds until hot water runs, then it loosens, so press it on when the tub is warm. Cold materials shrink, and warm ones expand, and a warm press can close micro-gaps that a cold press leaves.
- Some cups hold and others do not, so inspect the floor under the failing cups, because chips, dimples, and joints break the rim. If the pattern of failure matches a pattern you can feel with your palm, change mat style.
- The mat feels slippery on top even when the bottom holds, and that is a different surface, so the top face needs its own texture. If soap builds up there, rinse it away, because a mat that stays put is only half the job, and your foot needs something to press against too.
- The mat leaves a ring when you lift it, and that is the film that built up around the rim, so wipe it away, then lift and dry more often so moisture and time do not give it a chance to grow.
When to choose a different tool first
If your tub floor is textured by design or by age, treat that as a given, and do not expect cups to override it. Go straight to a texture-and-weight mat inside, and put a rug down outside the tub to meet the first step. Add a grab bar inside and another outside where your hand wants to land as you exit, and if you want more underfoot grip on a non-sealing surface and you own the tub, adhesive strips are an option, but be honest about the finish risk on removal. If you rent, avoid anything that bonds to the tub.
A textured tub floor is not a lost cause. It wants a mat that works by texture and weight instead of suction, and Gorilla Grip mats are sold on both principles for that reason.
What goes on the dry side of the tub wall is a separate decision with separate sizes, and The bathroom floor, measured properly works through all three zones of the room with a tape measure.
If your floor passes the palm test but cups still let go, change how you fit the mat, and wet the floor. Press from the center and give air an exit, and fit at bathing temperature. Lift and dry on a rhythm that works in your home, and a mat that has what it needs from the surface will repay that routine by staying put when you need it.
Closing the loop
Your tub and shower are simple machines, with feet on a surface, hands to a point of control, and water everywhere. Suction is a clean way to hold a mat only when the floor underneath can give the cups a continuous, airtight rim, and you can tell in ten seconds with your palm. You can fit a mat in one minute that respects how cups work, and you can keep it working with a lift and a rinse on a schedule that fits your life.
On a floor that will not seal, use weight and texture instead of suction, and do not ask cups to do what the surface forbids. On every floor, put bars where hands need them, because the research points there, and movement in water and on wet skin is where most slips happen. There is no active US voluntary standard for slip-resistant bathing surfaces today, and lab methods do not ride in the shower with you, but what does is the right tool for your floor, placed well, used with a little routine, and paired with a solid handle at the moment you move.
One button, the whole Gorilla Grip range
Every size, colour and pack count in the Gorilla Grip selection sits behind this button, with the current price beside it. Pick your floor, check the size against a tape measure, and it ships from our retail partner.